 Product photos that sell, taken on your phone
Online buyers can’t touch your product, smell it or try it on. All they have is the photo. Your photos do the job of a salesperson at the counter: dark, blurry or cluttered photos make good products look ordinary, while bright, sharp, clean ones give buyers the confidence to decide.
The good news is that today’s phones take product photos that are more than good enough. What makes the difference is light, background and angle, and none of those cost anything.
Start by wiping the lens
This is the easiest tip and the one most often forgotten. Your phone lens lives in a pocket and gets touched all day. A thin film of grease makes photos look hazy, puts a glow around bright spots, and makes the picture look soft even when the focus is right.
Wipe it gently with a soft cloth, such as a glasses cloth, every time before you start. It takes less than five seconds.
Light: use a window
Daylight from a window is the best studio light there is, and it’s free.
- Put the product near a window so the light comes from the side. Shape and texture show clearly.
- Avoid direct, strong sun. Harsh light gives dark shadows with hard edges. If the sun comes in, soften it with a thin white curtain.
- Turn off the flash. Phone flash creates shiny hot spots and flattens colours.
- Don’t mix light sources. Yellow room lights plus window light make colours look wrong. Switch off the room lights and use the window alone.
- Bounce light with white paper. Stand a sheet opposite the window to brighten the shadow side.
Background: plain, clean and quiet
A good background makes buyers look at the product before anything else.
- A large sheet of white paper or poster board, laid on the table and curved up against the wall, gives a smooth background with no visible edge.
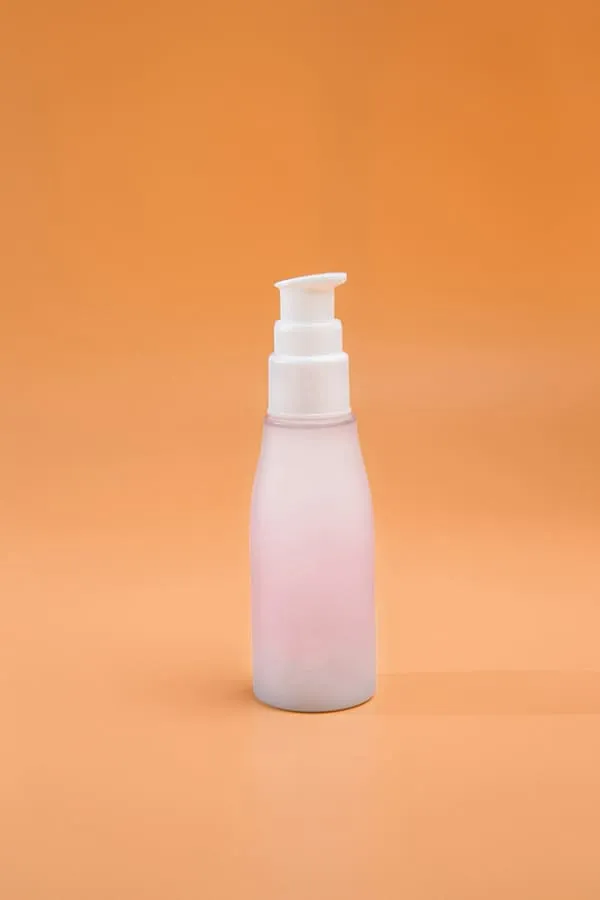
- A colour that contrasts with the product works too, like a pale bottle on orange. Just keep it to one plain colour.
- Clear clutter out of the frame: chargers, bags, empty boxes, the corner of the table.
- Use the same background for every product. Your shop looks organised when all the photos go together.
- Leave space around the product. Don’t shoot right up to the edges, so nothing gets cut off when the photo is cropped to fit the shop.
Angles: several photos, so buyers see it all
One photo can’t answer every question. Try a set of 3 to 5:
- The main photo: straight on, the whole product in view.
- A 45-degree angle: front and side together, so it feels three-dimensional.
- From above, for flat things like clothes, a box of cookies, or a set of several items.
- Close-ups of texture, stitching, the label, or details buyers often ask about.
- A size reference: in a hand, or next to something everyone knows the size of.
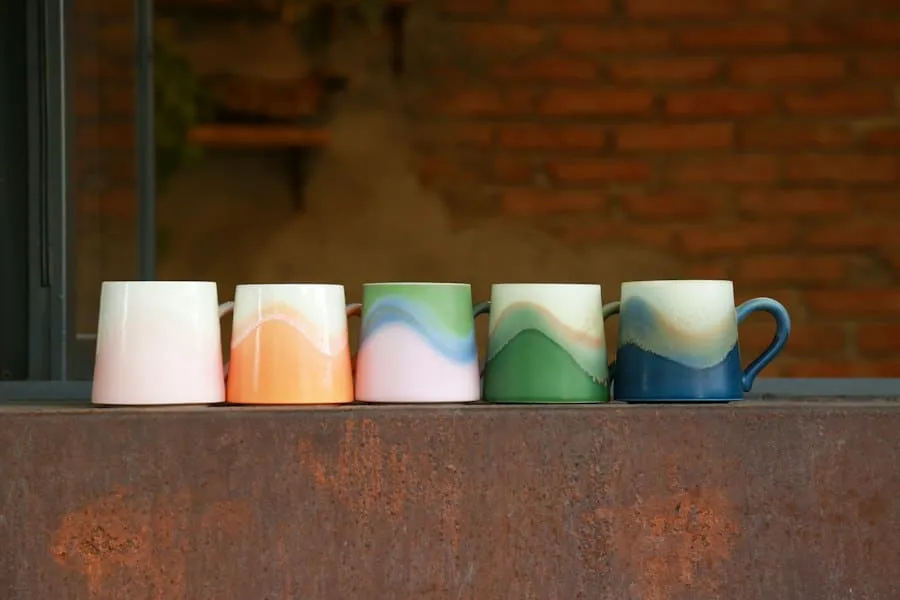
- In use: a mug with coffee in it, finished nails on a real hand.
For tall things like cups or bottles, shoot at the product’s own level rather than looking down on it. The proportions look more natural.
A few phone settings
- Tap the screen on the product to focus, then slide to adjust brightness, which most phones let you do. If a white background looks grey, brighten it; if a white product disappears, darken it.
- Don’t use digital zoom. Move closer instead. If your phone has a 2x or 3x lens, use it: products look less distorted than when shot up close with the wide lens.
- Hold it steady. Rest your elbows on the table, or use the timer.
- Turn on grid lines to keep the product straight and centred.
- Edit lightly. Adjust brightness, straighten and crop, but don’t add filters that change the colour, especially for cosmetics, clothes and anything people choose by colour. If the real thing doesn’t match the photo, buyers are disappointed.
What happens when you send photos to a Tellsell shop
- Send several photos at once. Photos sent together as one set in LINE become one product.
- Sizes are handled for you. Each photo is saved in several sizes for phones and computers, so your shop loads quickly even when the originals are large.
- The AI looks at the photo to write the description, and writes only what it sees or what you said. A clear photo gives a more accurate description.
- Very dark or blurry photos may get a note in the preview suggesting you send another before publishing.
Checklist before you shoot
- Lens wiped
- Near a window, room lights and flash off
- Plain, single-colour background, no clutter
- Space left around the product
- One main photo and 2 to 4 other angles
- Colours in the photo match the real thing
In short
Good product photos don’t come from expensive gear. They come from small habits repeated every time: wipe the lens, find good light, keep the background simple and cover every angle. Once you have the photos, putting them up for sale should be as easy as sending them in a chat. See how Tellsell works.
 What is LINE MyShop, and how is it different from your own shop website?
 How to sell online as a beginner, step by step
 Selling on Shopee or on your own shop website: which is better?